
Easy Felted Christmas Stockings
Supplies:
- 100% Wool, thrift store sweaters (1 per stocking)
- Dollar-store stocking for template
- Fabric scissors
- Pins
- Needle and coordinating thread or sewing-machine
- Decorative accessories (buttons, broaches, ribbons, appliqués, etc...)
Directions:
- Wash all sweaters in hot water in your washing machine. Tumble dry on high heat. This will felt the sweaters making them easy to cut without fraying or unravelling.
- Lay sweaters out and pin dollar-store stocking to the front or back of the sweater to hold in place. This will create your cutting template.
- Cut along the outside of the dollar-store stocking through both sides of the sweater. Once fully cut, remove the pins and voila- your felted stocking shape is revealed.
- Flip the two felted pieces so that they are inside out and pin along the edges to secure, leaving the top of the stocking open.
- Using a needle and thread or a sewing-machine, sew along the outside of the stocking to secure the two pieces together.
- Once sewn, turn the stocking right-side out and voila! It is now yours to decorate. Use your imagination to create unique personalized designs, embellish with ribbons, feathers or ornaments and have fun!
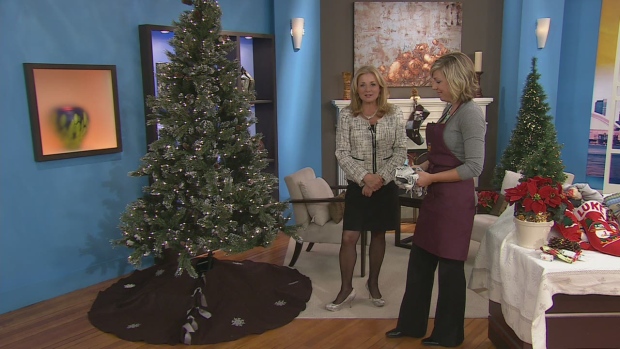 Easy No-Sew Christmas Tree Skirt
Supplies:
- 1, 60” square of felt from a fabric store, any colour you desire
- Fabric shears or sharp scissors of any kind
- Pinking shears
- Piece of string with paper clip on one end and chalk fastened to other
- Optional decorative items such as ribbon, appliqués, etc...
Directions:
- Laying out the square piece of felt on a flat surface, fold corner to corner into a triangle once, and then corner to corner again into a second triangle. It should now look like a cone.
- Take your piece of string and measure it out so that it runs from the tip of the felt triangle down to the bottom on the triangle, in a straight line. This will be your compass for creating the perfect rounded circle edge.
- Fasten the string using a paperclip to the tip of the triangle and secure the piece of chalk to the other end by tying the string around it. Now, like a pendulum, swing the chalk along to each side creating a perfect arc shape. This will be your cutting guide.
- You need a hole for the trunk, so trace a half moon at the tip of the triangle and cut along to open up that end. About 2-3” from the tip is plenty.
- Now you need to have one side opened up to get it around the tree. From the tip where you just removed fabric, cut along one side of the closed off fabric triangle (watch out not to cut through both layers). Now you’re done! Open it up and take a look.
- Use the pinking shears to re-cut along all edges just to make them look a little prettier.
- Using fabric shears, cut small holes along the open back and add ribbon so that you can hold it together under the tree.
- Add your own special touches and decorations to the skirt to make it your own. Add plenty of pizzazz keeping in mind, that it will be the showpiece under the tree until Santa arrives with gifts!


